
Although I haven’t really demonstrated this much on this website, woodcarving is one of my favourite past times. It’s a nice, simple hobby which is immensely satisfying. You don’t need a workshop full of tools and machines like some will have you think. In fact, a small garden or patch of woodland will do just fine, and these make for the most peaceful locations, where you can whittle away for hours, putting all of your creative thoughts into a solid and natural object.
You don’t need to be wildly knowledgeable to carve useful items, such as spoons or bowls, or even little keepsakes. The best way to learn is to practise quietly by yourself. Some of the very best wood carvers are usually self-taught.
The most important rules to remember are those of safety and responsible tool use. From my years of teaching I see far too many woodworkers doing ‘silly’ things. Not because they’re bad carvers, but because they get into bad habits. My advice would be that if you’re starting out woodcarving it’s a good idea to have someone watch you for the first few times. I say this because it’s much easier for someone else to spot little mistakes which can lead to cut fingers! The most common being holding the object that you’re carving below the cutting point, and the second, which is the most dangerous is using ones lap as a work bench, a very common mistake, especially among inexperienced bushcrafters. This is particularly risky because the thigh contains the femoral artery (general term for a few arteries in the leg), and if you slip and cut this, it won’t turn out to be a good day!
The safety aspect of carving is really just common sense, always cut away from you, etc, etc. If you’re on your own in a woodland carving away it’s always good practise to keep a first aid kit to hand, and a mobile phone in this day and age, just in case! Remember to get landowners permission and abide by any local laws, etc.
The common misconception here is that you need work benches, machines, saws and all manner of other bits and bobs. But to get started you really only need very little. Below I have put together a list of this kit I use.
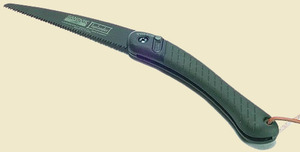
This is the saw I usually use to obtain the timber from my chosen woodland. I begin coppicing in the winter months and then season the cut wood in a dry place, usually for about 6 months. I sometimes carve with green wood, but it all depends on what I’m carving. Birch is a nice soft wood to start off learning with, but only cut it in the winter, leave alone in other months, especially the spring as you will likely kill the tree when the sap is rising.
Crook knives, also known a spoon or hook knives. There are many of these on the market, but to start with I would use something like either of those listed below. Always remember they are often double sided, so resist the urge to add pressure to the blade with your thumb!
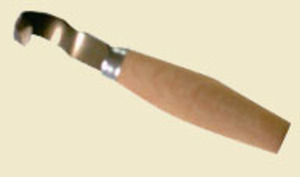
Mora 162 Spoon Knive (CLICK HERE)
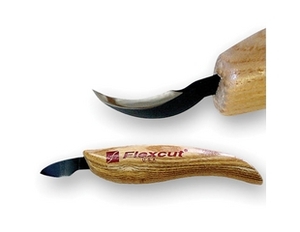
Flexcut Spoon Knife (CLICK HERE)
For stripping off bark or adding fine details to the carving I usually use the Mora 120, which is a fab little knife. Or for fine detail only, then the Flexcut fine detail knife is a good choice.
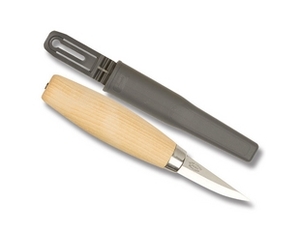
These whittlers kits are also great for beginners and advanced wood carvers.
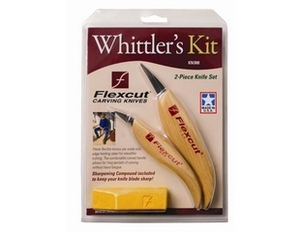
Flexcut Whittlers Kit (CLICK HERE)
Another tool I like to use, especially for shaping the wood to begin with is a good quality axe, and it really does need to be a good quality one! The ones I use most are these.
Gransfors Swedish Carving Axe (ideal for medium to large work)
Gransfors Mini belt hatchet (very small and ideal for shaping small wooden items)
All-in-one carving multi-tools are great and there’s very few on the market, but the very best is this one right here. The Flexcut Carving Jack. It is very handy to have one of these for all of those little jobs. There’re quite pricey, but believe me, they are worth it!
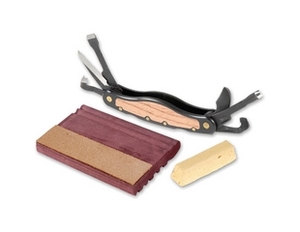
Flexcut Carving Jack (CLICK HERE)
I use several sharpening stones. The Fallkniven DC4 is a handy little thing. It’s great for sharpening straight-edged carving knives. The diamond side is course and the ceramic side is fine, which leaves a razors edge on most knives.
If you’re really into sharpening knives and want the best, then checkout these Japanese bench stones (waterstones) they’re fantastic and of such a high quality!
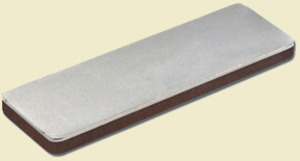
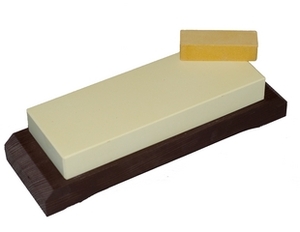
Japanese Waterstones (CLICK HERE)
I often use this sharpening rod for crook knives as it makes life a bit easier.
A few other bits you may need are things like sandpaper, a pencil a good all-round knife such as this one, and maybe a small cheap hacksaw like this.
Oh, and a pack of these CLICK HERE
Well, there we go. I only wanted to keep this simple, and hopefully answer a few questions I get about which bits of kit I use. I hope you find it of some use.
Catch you on the trail
Kris
