

This tutorial is set out in a basic form to make it much easier to follow. Spoon carving is a fun thing to do, but it can be a little dangerous, so please take care not to slip, or cut your fingers!
To make this tutorial a little different I have decided to carve a mini salt spoon. Because it’s very small, it is a little more difficult to make.
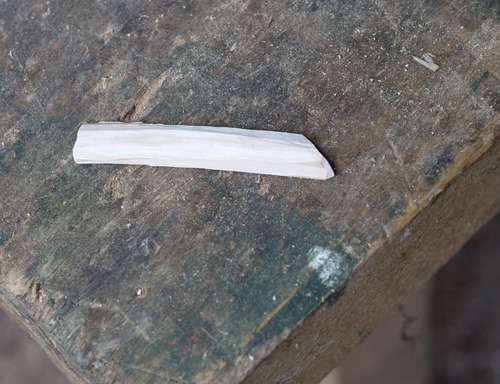
First of all select a piece of wood. Most woods will be fine for carving something of this size, but as a rule a wood such as ash or birch is a pretty good choice. I like to season it before use, you can carve it green, but you won’t be able to finish it off with sanding unless it’s nice and dry.
Cut a branch of about the same diameter of a 2p coin. This now needs to be de-barked, and spit in two. Now you are left with a small piece of wood with a single flat side.
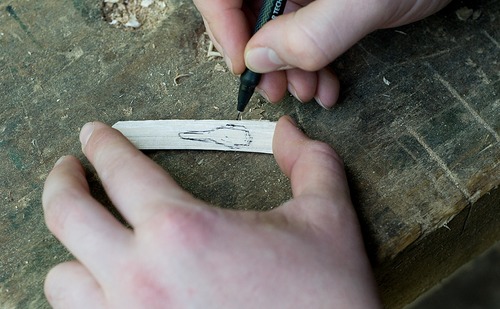
The other side helps form a natural bowl which we can work into shape should we need to. On the flat side, draw a simple spoon shape to give yourself a guide. As you can see from these images, I didn't stick to my drawing exactly (good job too!).
First of all carve the handle, but not too thin at this stage, you don't want it to break!
Now shape the bowl section of your spoon.
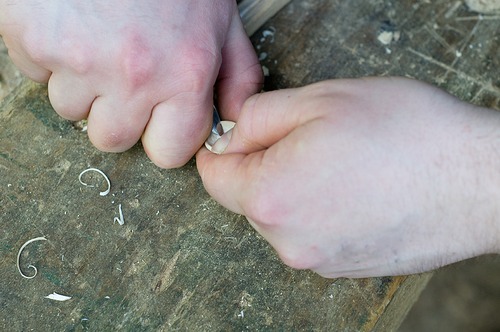
You will need to hollow out the bowl next; this is pretty simple, but often the long drawn out part of the project. On larger items, it’s sometimes easier to burn the centre out with a hot coal, but something of this size it’s easy to use the tip of your knife, or a small gouge if you happen to have one. It's often a good idea to hold this small object in a tough piece of leather if you’re at all worried about slipping.
Once you have a rough and ready looking spoon it’s time to sand it down to make it nice and smooth. Either do this with fine sandpaper, or a more natural way is to use a piece of leather and some sand, both work well, but the latter method is a little slower.
Once your spoon is nice and smooth, you can oil it if you wish. This will give it a lovely colour and help protect it.
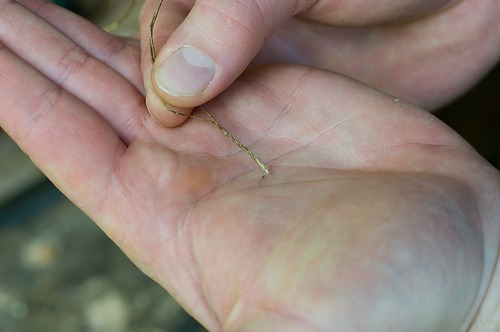
I also drilled a small hole in the handle (with the knife) and made some nettle twine (CLICK HERE) which I added to it, so it can be hung up.
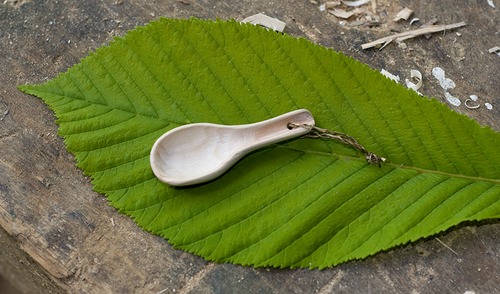
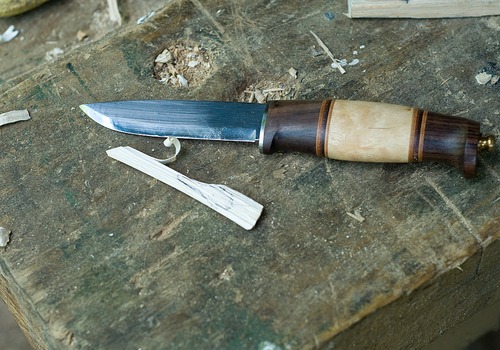
The spoon measures only about an inch in size. There should have been a couple of extra images for this tutorial, but they went missing! Sorry about that.
Catch you on the trail
Kris
Forest on 02/11/10
started on the cordage and read the rest with pleasure. the catty ofending townies i guess. as for the rest of us good on yer. i shall be looking out for the sling shot pattern to follow on from these fine pieces of education. well done my ansum well dun.
Delia on 29/07/09
Hello! I found your tutorial.
I would like to translate it into Russian and post it in my site. I will mention you and your site (let me know which one).
Is it possible? What will be your conditions?
Delia


Phil Glover on 17/03/11
Great tutorial for a complete beginer to carving and a great project to start with